When I first made cheesy scalloped potatoes for a family dinner, the center was gummy and the sauce separated after sitting for an hour—frustrating when you’ve planned the whole meal. This Cheesy Scalloped Potatoes recipe fixes that by using a lightly thickened cream sauce and uniform, thin slices so the potatoes cook evenly and the dish reheats cleanly. If you want a practical, organized side that holds up for holiday serving and leftovers, keep reading.
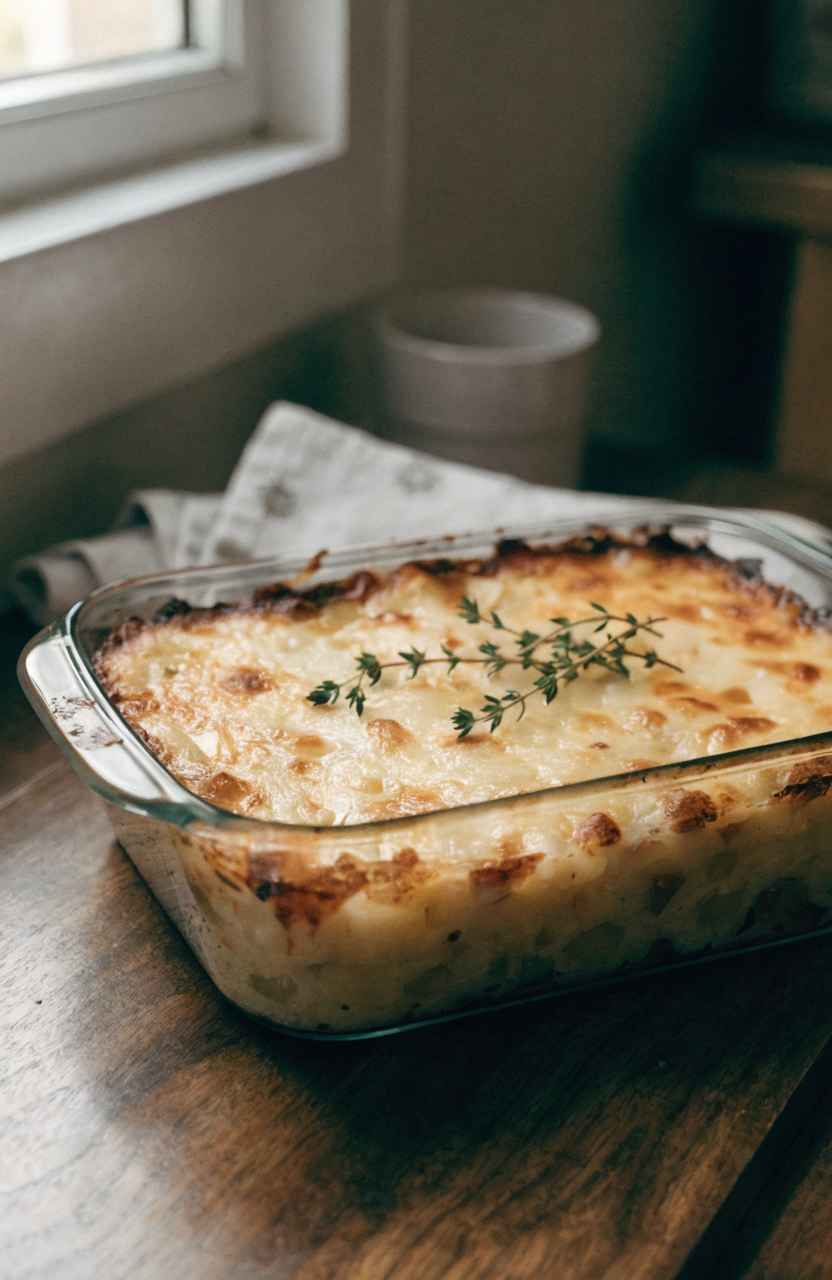
Why this cheesy scalloped potatoes works
The key technique here is making a simple roux-based cream sauce before adding cheese and sliced potatoes. That small step stabilizes the sauce so it doesn’t separate or become watery as the potatoes release starch while baking and cooling. I tested thin, medium, and thick slices; 1/8-inch slices hit the sweet spot—tender but not mushy. I also arrange the slices offset in a single overlapping layer to encourage even cooking and to prevent a raw center without overcooking the edges. During testing I initially poured cold milk over the potatoes and the sauce seized, so I switched to warming the milk before combining with the roux; that fixed the texture.
Key takeaways
- Make a medium-thick roux-based cream sauce to prevent separation and watery casserole.
- Slice potatoes 1/8 inch thick for consistent tenderness without mush.
- Bake uncovered at 375°F then tent to finish so the top browns without drying the interior.
Ingredients you’ll need and what to substitute
This recipe uses Yukon Gold potatoes because they have a naturally creamy texture and hold their shape well, but russets or red potatoes will also work with small changes. Yukon Golds help the finished dish feel naturally richer without needing as much added cheese or cream. I use whole milk plus a bit of heavy cream to balance creaminess and sauce stability; if you only have 2% milk, increase the flour in the roux by 1 tablespoon to compensate for lower fat and prevent a thin sauce.
Cheese: I build flavor with sharp cheddar for bite and a bit of Gruyère for nuttiness—if you don’t have Gruyère, use extra sharp cheddar only. For a budget option, a high-quality processed cheddar block works fine but avoid pre-shredded cheese for melting reasons (it contains anti-caking agents that can affect sauce texture).
Flavoring swaps: swap fresh thyme for 1/2 teaspoon dried thyme (reduce quantity because dried herbs are more concentrated), or omit the thyme and add 1/4 teaspoon smoked paprika for a hint of warmth. If you need a lighter option, use all whole milk and skip the heavy cream, understanding the sauce will be slightly less rich.
Equipment
Essential equipment includes a 9×13-inch baking dish (this size prevents overflow and ensures a single layer plus overlap), a chef’s knife or mandoline for even 1/8-inch potato slices, a 3-quart saucepan for the sauce, and an oven preheated to 375°F. If you don’t have a mandoline, a sharp chef’s knife and a steady hand work fine—I used a basic mandoline for consistent slices during testing and recommend it if you make this often.
How to make cheesy scalloped potatoes
Prep and sauce
Preheat the oven to 375°F. Thinly slice 3 pounds of Yukon Gold potatoes to about 1/8 inch. I like to rinse slices briefly and pat them dry; that removes excess surface starch so the sauce stays glossy rather than gummy. In a 3-quart saucepan, melt 4 tablespoons unsalted butter over medium heat, add 4 tablespoons all-purpose flour and whisk continuously for 1 to 2 minutes to cook the raw flour taste. Slowly whisk in 2 cups warm whole milk and 1/2 cup warm heavy cream, then simmer until the sauce thickens slightly, about 4–6 minutes. Season with 1 teaspoon kosher salt, 1/2 teaspoon black pepper, and 1/2 teaspoon minced garlic or 1/4 teaspoon garlic powder. Remove from heat and stir in 1 cup grated sharp cheddar and 1/2 cup grated Gruyère until melted and smooth.
Assemble and bake
Butter the 9×13-inch baking dish and place a single slightly overlapping layer of potato slices across the bottom. Pour about one-third of the cheese sauce over the first layer, using a spatula to spread gently. Repeat two more times to create three thin layers; finishing with the remaining sauce across the top helps the surface brown evenly. Sprinkle another 1/2 cup cheddar over the assembled top for a golden crust. Cover loosely with foil and bake at 375°F for 40 minutes. Remove the foil and continue baking for 20–25 minutes more until the top is bubbling and browned at the edges. Let the dish rest, tented, for 10–15 minutes before serving—this resting time allows the sauce to set and keeps slices intact when scooped.
Things I learned the hard way
- Do not pour cold milk into a hot roux; it can clump. Warm the milk for smooth sauce.
- A thin sauce helps the potatoes finish cooking; an overly thick sauce results in undercooked centers. Aim for a pourable, coat-the-back-of-a-spoon consistency.
- Slice consistency matters. Thicker slices require longer bake times and risk staying firm in the center; thinner slices can overcook to mush. Stick to 1/8 inch for best results.
- Cover early in baking to keep moisture in, but remove the foil later to let the top brown—this balances creaminess and texture.
- First attempt note: I used all pre-shredded cheese and the sauce separated and looked grainy. Switching to freshly grated cheese fixed melting and texture problems.
Variations to try
Cheesy scalloped potatoes adapt well:
- Herbed variation: Stir 1 tablespoon chopped fresh chives and 1 teaspoon chopped fresh parsley into the sauce before layering. No time change needed.
- Mustardy version: Whisk 1 tablespoon Dijon mustard into the warm sauce for a tangy note; this won’t change the baking time but adds brightness.
- Smoky crunch swap: Add 1/2 cup cooked and crumbled turkey or poultry-style deli strips between layers for a smoky, meaty texture—drain any rendered fat before layering to avoid excess oil; bake time stays the same.
Storage, freezing, and reheating
Refrigerator: Store leftovers in an airtight container for up to 3 days. The sauce will firm up in the fridge—reheat gently rather than at high heat to restore creaminess. Oven reheating: preheat to 350°F, cover the dish, and bake for 20–25 minutes until warmed through; remove foil for the final 5 minutes to refresh the top. For single servings, reheat in a microwave on medium power in 60-second intervals, stirring or flipping once, until hot.
Freezing: This casserole freezes well before or after baking. To freeze before baking, assemble in a freezer-safe 9×13 pan, wrap tightly with plastic wrap and foil, and freeze for up to 3 months. Bake from frozen at 375°F covered for 50–60 minutes, then uncover and bake an additional 25–30 minutes until bubbly and browned; add 10–15 minutes if the center is still cold. To freeze leftovers, cool completely, portion into airtight containers, and freeze up to 3 months. Thaw overnight in the refrigerator before reheating.
What to serve with cheesy scalloped potatoes
This dish pairs well with roasted chicken, herb-crusted turkey breast, steamed green beans, simple mixed greens with a lemon vinaigrette, or glazed carrots—each brings acidity or brightness to cut through the richness. For a casual family meal, serve with pan-seared chicken thighs and a crisp cabbage slaw.
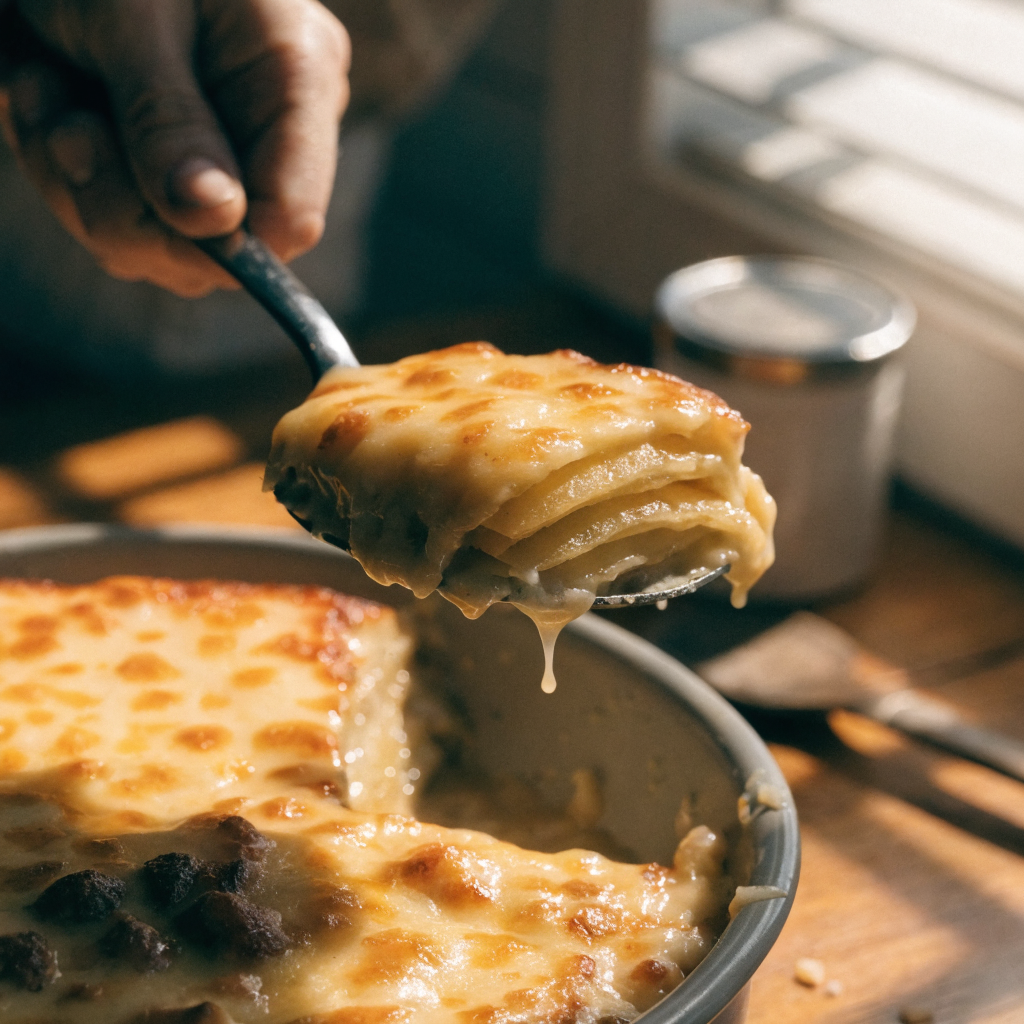

Cheesy Scalloped Potatoes
Ingredients
Equipment
Method
- Preheat the oven to 375°F and butter a 9x13-inch baking dish; thinly slice the potatoes to 1/8 inch and pat them dry with a towel to remove excess surface starch.
- In a 3-quart saucepan, melt 4 tablespoons butter over medium heat, whisk in 4 tablespoons flour and cook for 1–2 minutes, then slowly whisk in the warmed whole milk and cream until smooth; simmer 4–6 minutes until slightly thickened.
- Remove from heat; stir in 1 cup grated cheddar and 1/2 cup grated Gruyère until melted, then season with 1 teaspoon kosher salt, 1/2 teaspoon black pepper, and 1/2 teaspoon minced garlic; add 1 teaspoon fresh thyme if using.
- Place a single slightly overlapping layer of potato slices in the prepared dish, pour one-third of the cheese sauce over the layer, and repeat two more times, finishing with sauce on top; sprinkle the reserved 1/2 cup cheddar over the surface.
- If using the optional cooked and crumbled turkey deli strips, sprinkle them evenly between layers, draining any excess fat before layering.
- Cover loosely with foil and bake at 375°F for 40 minutes, then remove the foil and bake another 20–25 minutes until the top is bubbly and browned; let rest, tented, for 10–15 minutes before serving.
- To assemble ahead, cover tightly and refrigerate up to 24 hours; add 5–10 minutes to baking time if baking cold from the fridge. To reheat leftovers, cover and bake at 350°F for 20–25 minutes until warmed through.
Notes
Frequently asked questions
Can I use russet or red potatoes instead of Yukon Gold? Yes. Russets give a fluffier texture and may absorb more sauce, so check doneness earlier; reds hold their shape but are firmer—stick to 1/8-inch slices and adjust baking time by 5–10 minutes as needed.
Why is my scalloped potato sauce watery? If the sauce hasn’t been properly thickened with the roux, potatoes will release starch and the casserole becomes thin. Make sure the roux is cooked and the milk is warmed and simmered until it thickens slightly before adding cheese.
Can I assemble ahead of time? Yes. Assemble the dish, cover tightly, and refrigerate up to 24 hours before baking. Add 5–10 minutes to the covered baking time if the casserole is cold from the fridge.
Do I have to use fresh-grated cheese? Fresh-grated cheese melts more smoothly; pre-shredded cheese can sometimes give a grainy texture due to anti-caking agents. For best texture, grate your own.
How do I know the potatoes are done? Visual and tactile cues: the sauce should be bubbling around the edges, the top browned, and a thin knife should slide easily into the center without resistance. Resting for 10–15 minutes after baking helps the center finish and firm up.
Closing
This cheesy scalloped potatoes recipe gives you a reliable, sliceable side that tastes rich without becoming watery after sitting or chilling—it’s the version I return to for holiday dinners and weeknight meals alike because it reheats predictably and keeps well in the fridge. Serve slices warm, spoon reserved sauce alongside if desired, and refrigerate leftovers promptly for best texture and safety.

Leave a Reply